"I fear that so many feel that a long-term supply is so far beyond their reach that they make no effort at all. Begin in a small way…gradually build toward a reasonable objective.” -President Gordon B. Hinckley,
Showing posts with label canning. Show all posts

Wednesday, March 25, 2015

Strawberry Jam


There's nothing tastier than a slice of toast with homemade strawberry jam, packed with fresh fruit. Store-bought versions are full of high fructose corn syrup, artificial flavorings, and sometime who knows what. Instead, follow my easy guide to make a delicious homemade version.

Step one: Prepare your strawberries. I give them a super quick rinse, so they don't absorb too much water then wipe them off with a towel. (too much water and the jam won't set properly) I have this amazing tool called a strawberry huller and it makes short work of removing the stems.

Step two: In large stock pot add 8 cups of crushed strawberries. ( I prefer smooth jam, so I dropped the strawberries into my vitamix machine for 30 seconds) Add 6 tablespoons of Ball Classic Pectin, 7 cups of sugar, and 1/4 cup of lemon juice. Stir until all the sugar is dissolved. Bring to a rolling boil.
TIP:add 1 tablespoon of butter to reduce the foam.


Step three: Bring to a hard boil for 1 minute, stirring constantly. Remove from heat. To test the set, spoon a small amount of jam onto a plate and place in the freezer for 30 seconds. Remove from freezer, then push with your finger; if the jam wrinkles and doesn't flood to fill the gap, it is ready. If not, turn the heat back on and boil for 2 minutes longer, then turn off the heat and do the wrinkle test again. Repeat until ready.
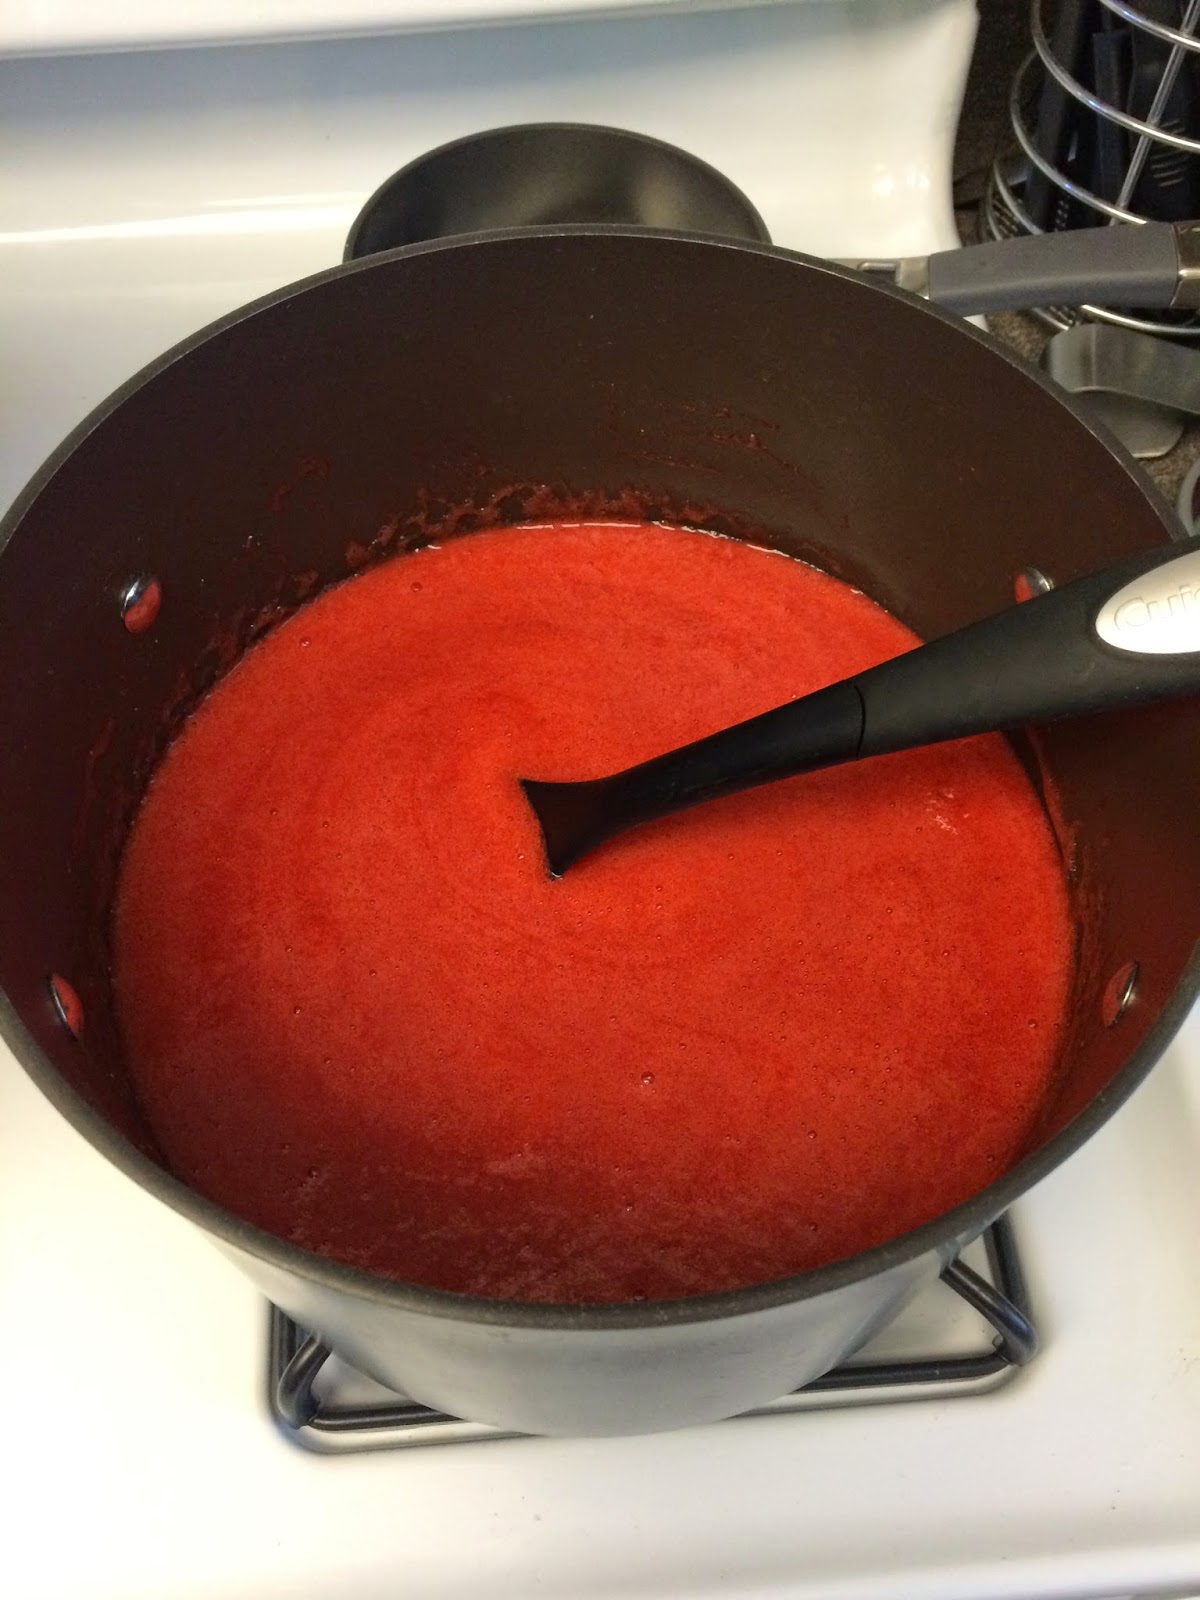

Step four: Skim any foam if necessary. Ladle hot jam into hot jars leaving 1/4 -inch headspace. Adjust the two piece caps.  


Step five: Process 10 minutes in a boiling water canner. Then remove jars to cool and seal on your counter top. The jam can be stored for up to 1 year in a cool, dry place. Refrigerate after opening. 


Strawberry Jam
Yield:about 8 half pints
8 cups strawberries                             1/4 cup lemon juice
6 tablespoons Ball Classic Pectin        7 cups sugar

Wash strawberries:drain. Remove stems. Crush strawberries one layer at a time. Combine strawberries, pectin, and lemon juice in a large saucepot. Brig to a boil; stirring occasionally. Add sugar, stirring until dissolved. Return to a boil. Bring to hard  1 minute boil, stirring constantly. Remove from heat. Skim foam if necessary. Ladle hot jam into hot jars, leaving 1/4- inch headspace. Adjust two piece caps. Process 10 minutes in a boiling- water canner.


Tuesday, September 10, 2013

Green Beans


The wonderful thing about being back in the Northwest again is that I can grow a lot of fruits and vegetables right in my own backyard.  The Territorial Seed Co. Blue Lake Pole Beans have done exceptional in my garden this year. I have already picked 20 pounds and they are still producing. I have jarred the beans, so I may enjoy them year round. Here's how:


Pick your beans when they are about the diameter of a pencil, but you cannot yet detect the individual beans inside the pods. The Blue Lake variety will be about 6-7 inches long.

                                                    Wash the beans in cool water.

Trim the ends, remove the string that runs down the outside
 of the beans, and break into 2-inch pieces.
Pack beans tightly into hot jars, leaving 1-inch headspace. If desired, add 1 tsp. salt to each quart.

Ladle boiling water over beans leaving 1-inch headspace. Remove the air bubbles. Adjust the two-piece cap. Hand tighten the ring and place in your PRESSURE canner.
                      Process quarts for 25 minutes at 10 pounds pressure in a pressure canner.
 
 
Once the processing period is complete, turn off the heat. Allow the canner to cool naturally. Do not remove the weight until the canner has depressurized and returned to zero pressure. Once it is at zero you may remove the weight. Let the canner cool for at least 10 minutes before removing the lid. Then wait another 10 minutes before removing the jars and placing them on a towel on the counter.


Wednesday, August 28, 2013

Peaches


Movin' to the country I'm gonna eat a lot of peaches
Peaches come from a can they were put there by a man woman. :)

You don't have to move to the country in order to eat a lot of peaches. And they don't have to come from a can in a factory downtown either. If you preserve them correctly you can eat peaches everyday.

Alright, enough with The Presidents of the United States and onto canning peaches.

                                         Blanch the peaches in boiling water for 20-30 sec.

                                              Immediately place them in an ice water bath

  To remove the skin I cup the peach in my hands and twist in opposite directions. The skin just falls off. Other suggestions are to use a rag to do the same thing. That might give you a better grip.

Cut the peaches in half and remove the pit. If you made sure to get cling free, or freestone peaches this task is simple.

Soak the peaches in a lemon juice/water bath to prevent browning.

Make a light syrup (5 1/2 cups of water and 1 1/4 cups sugar) and keep the syrup hot, but not boiling.

Pack peaches cavity side down into hot jars leaving 1/2-inch headspace. Ladle hot syrup over peaches leaving 1/2-inch headspace. Remove the air bubbles. Wipe the rim of your jar clean. Adjust the two-piece caps and place in your boiling water canner.

                                                       Process quarts for 20 minutes.

                                                               mmmmm peaches!!

Saturday, December 24, 2011

Chicken

Freeze dried meat is very expensive, but I wanted to have meat in my food storage. I took on the "challenge" of canning chicken and discovered that it is SUPER easy.

What you need is:
A Pressure Canner


Salt (non-iodine)

Wide mouth quart jars

Raw chicken


First wash and prepare your jars. 
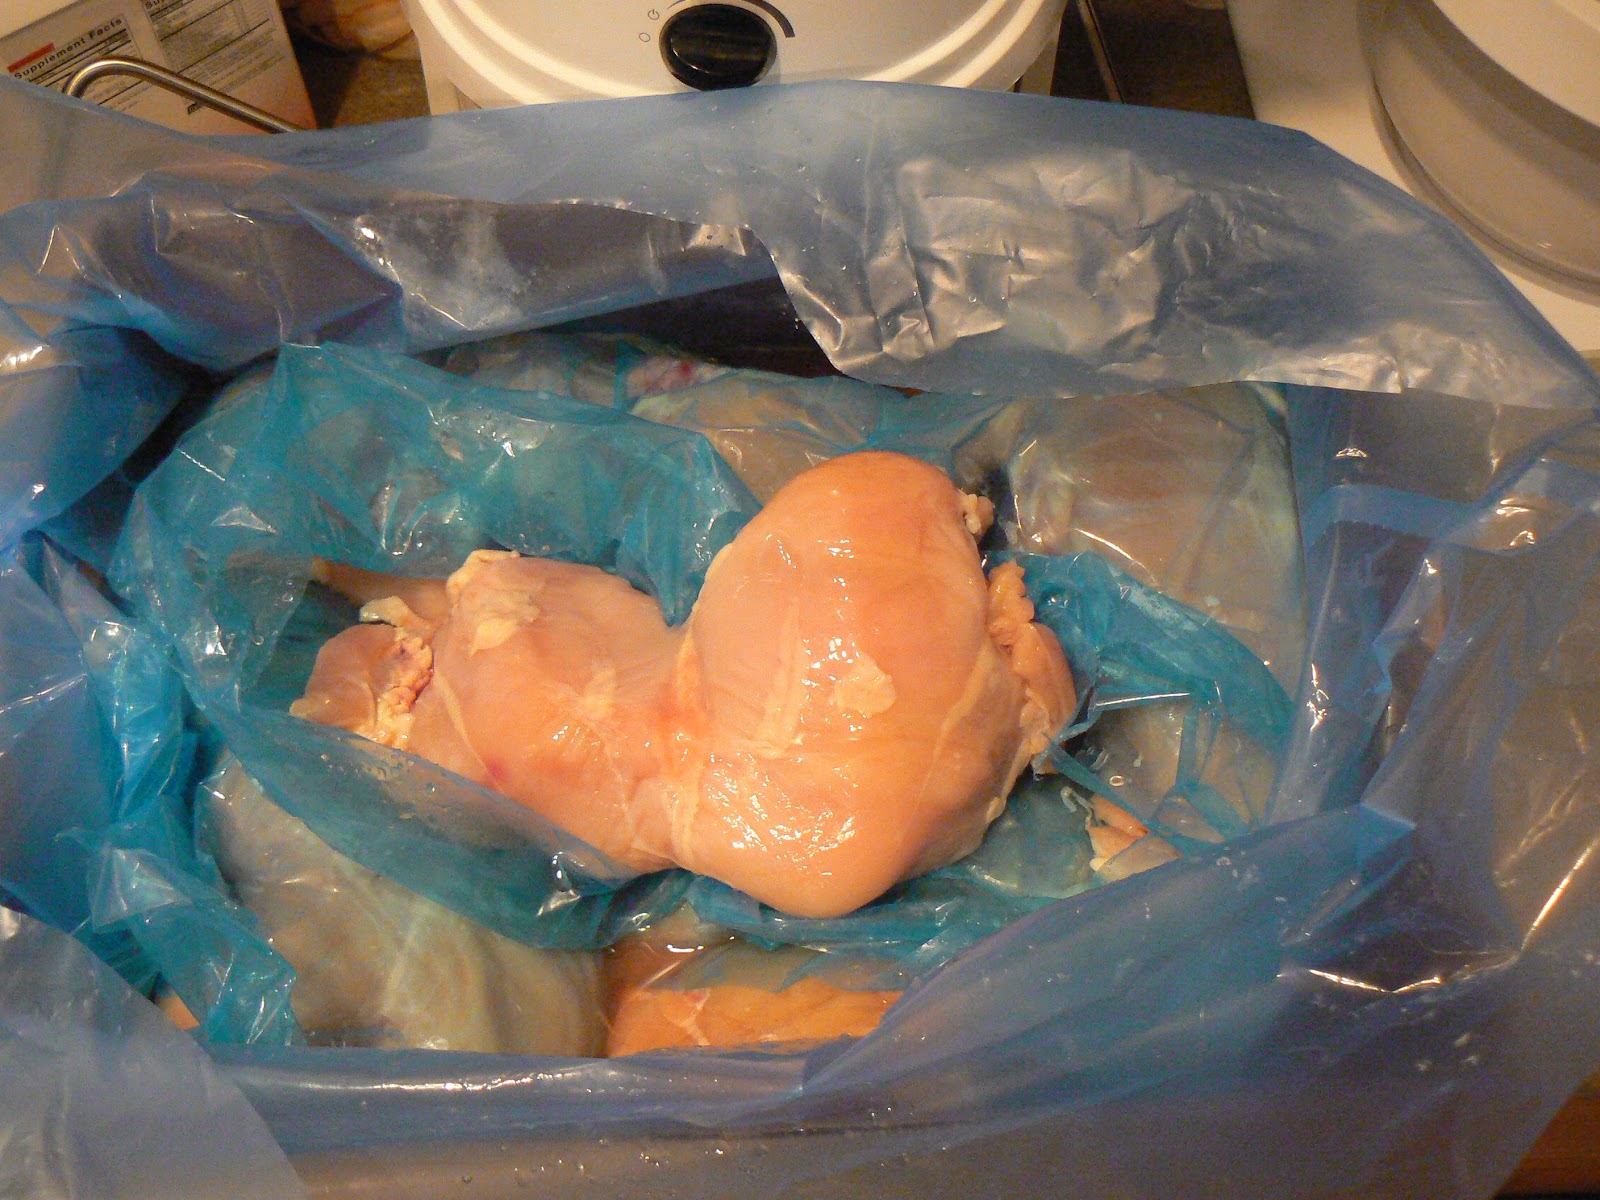
I bought my chicken in bulk and needed to separate the breasts and trim off additional fat.
                                     
      Then add 1 teaspoon of salt to each empty quart jar. Most canners will hold 7 quart jars at a time, so don't fill too many at once.  I put two breasts each in a quart, although I could have put more in. I only did two since there are just the two of us at home and I didn't need more than that at a time. In hind sight I should have done pints instead.  So, stuff the chicken into the quarts and leave 1 inch headspace.  Wipe the top of your jar clean with a wet rag and add your lid (that has been warmed in water) and hand tighten the ring on. 

Place the 7 quarts into a pressure canner.  Process for 90 minutes at 15 pounds of pressure.

You did it!! The chicken is fully cooked and all that lovely liquid is the most delicious broth around. 

Wednesday, October 26, 2011

Pears

Bartlett pears are considered the best for canning. They have a sweet taste and are readily available. Although Kieffer pears and other similar varieties will work if properly ripened and cooked in water until almost tender (i.e. takes a lot more time and effort). Pears should be harvested when they are full grown and stored in a cool place (60-65F) until ripe, but not soft. Ripening pears in a controlled environment also eliminates some of the characteristic grit that forms in the meat of pears.  Because pears tend to ripen from the inside out, it's best to check the pears often if they have been ripened indoors. A ripe pear can be kept in the refrigerator for about a week without spoiling, but pears that are green will not ripen properly in the refrigerator.

Pears are one of the most delicate of fruits-even a slight bump will cause bruising. When picking pears for indoor ripening, pick fruit that separates from the branches easily or wait until the fruit begins to drop naturally. Never use soft fruit or fruit that is overripe when home canning. Canning pears that are overripe will change the acid level in the fruit, causing spoilage and the possibility of botulism poisoning, which is deadly. Instead, select firm, ripe fruit and follow all canning instructions completely.

Gather your ingredients:
pears- 2-3 pounds per quart
sugar, water, lemon juice, 1 large kettle,1 large pot, water bath canner, slotted spoon or skimmer

- Prepare your jars first
Peel, core, and cut into halves about 17 pounds of pears for 7 quarts. place pears in a large pot with  8 cups of water and 1 cup of lemon juice to prevent browning after being peeled.


                                                       (an awesome coring tool)
Once you have about 17 pounds prepped, make an extra light syrup in a large kettle. For every 5 1/2 cups of water add 1 1/4 cups of sugar. You want this syrup hot, but not boiling. Using your slotted spoon transfer the pears from the lemon juice bath to the syrup and cook one layer at a time until they are hot throughout.


Pack hot pears into hot jars, leaving 1/2 inch headspace. Ladle hot syrup (what you just cooked your pears in) over the pears leaving 1/2 inch headspace. Remove all the air bubbles. Wipe the top of your jar clean with a wet rag.


                                  Place the lid and ring on the jar and tighten snugly.

                                  Process for 25 minutes in a boiling water bath canner.

                                        120 pounds of Bartlett pears yielded me 78 quarts.

Friday, September 2, 2011

Applesauce

There is nothing better than homemade applesauce. My favorite apples to turn to sauce is the Fuji or Gala. I used Gala's this time. They don't get a rosy color to them in the heat of Las Vegas, but they sure taste great. Our family went to the local farm and picked a whole lot of apples. It takes about 2-3 pounds of apples per quart.
I began by washing and peeling all of my apples. I didn't have a fancy crank peeler, I peeled them all by hand :(  Then I sliced and cored them in one motion with the best tool in my kitchen.
Cook the apples in a large covered pot with just enough water to prevent sticking. As the apples cook they will produce juice which will also aid in the non sticking effort.

Don't worry about the apples browning a little, they will still taste great. Cook the apples until tender.
Then puree the cooked apples using a food processor or mill. (Or in my case a Vita-Mix).

Sure it took me a little longer to puree all the apples, but I already own the Vita-Mix and didn't want to purchase yet another tool. The Vita-Mix worked great too.

Return your pureed apples to the pot. If you desire a sweeter applesauce now is the time to add sugar. A 1/4 cup per pound of apples should be more than plenty. I find that the Gala and Fuji apples do not required additional sugar. I do like to add some spices though. cinnamon, nutmeg, or allspice are great to add in the last 5 minutes of cooking time. Turn your heat up to high to bring the applesauce to a boil (212 F). Don't forget to stir to prevent sticking.


While this is preparing to boil, multi-task your attention to your jars. Are they warm enough? Are your lids in hot water ready to go?

Maintain the boil while filling your hot jars.
Ladle hot sauce into hot jars, leaving 1/2 inch headspace. Remove any air bubbles. Wipe the top of the jar clean with a wet towel. Place the lid and ring on the jar and hand tighten.

Place jars in your water bath canner. Process for 20 minutes in boiling water.

I did get tired of peeling apples by hand and thought I would try a batch with the peels on.

The batch turned out just fine. The Vita-Mix annihilated any trace of peel. I will be doing it that way from now on. So much easier. But, if you have a food mill or the means to purchase or borrow one, that makes this even easier!

Friday, July 22, 2011

Apricots


 I looked out the window and what did I see popcorn popping on the apricot tree. Yes, spring did bring a great surprise. Harvest time is a little earlier here in the desert, but I love it all the same. I found a local farm here that has all sorts of wonderful things to remind me of home. On this particular outing we picked our own apricots.  We got a little carried away with it and picked a lot more than anticipated, but in the end I was grateful for it.
 Once I got home I busted out my favorite book, Ball Blue Book guide to preserving and began following instructions for apricot preserves.

I began by blanching about 2 pounds of apricots. Blanching is a cooking process wherein the food substance, usually a vegetable or fruit, is plunged into boiling water, removed after a brief, timed interval, and finally plunged into iced water or placed under cold running water (shocked) to halt the cooking process. Once blanched the skin just falls off the apricot making it super easy to peel.

After they were pitted and peeled I combined the 2 pounds of apricots with 4 cups of sugar, and 1/4 cup of lemon juice in a large saucepot.
After stirring it all together I covered the pot and placed in the refrigerator for about 4 hours.
During that time I worked on canning the apricot in whole form.(which I will get to a little later)

4 hours later bring the apricots that were in the fridge to a slow boil stirring until the sugar dissolves. Cook rapidly almost to gelling point.


As the mixture thickens, stir frequently to prevent sticking. Remove from heat and prepare to place this deliciousness into hot jars.

You can prepare your jars a couple different ways from placing them in boiling water for 10 mins, or the easy route I take- the dishwasher. I place my jars and rings in the dishwasher and run it through a rinse cycle. Gets them nice and toasty. Be sure to only remove one jar at a time to keep them warm.

Ladle the hot preserves into hot jars, leaving 1/4 inch headspace. Headspace is the space in the jar between the top of the food or liquid and the inside of the lid. Prepare your lids by placing them in simmering water (180F) for 10 mins, then removing one lid at time as needed.

Clean the edge of the jar with a damp rag before adding the lid and ring.
Hand tighten the ring snugly, and place the jar in your boiling-water bath canner to be processed for 15 mins
Time starts when the water is boiling.

When you remove them from the boiling-water canner place them on a towel to protect your counter top.
As they cool you will hear the ever satisfying 'pop'.
After 12-24 hours, test the lids to determine if a vacuum seal has formed. If the center does not flex up and down and you cannot lift the lid off, the lid has a good seal. 

Now onto jarring apricots.  2-2 1/2 pounds of apricots per quart, sugar, water, and Ball fruit-fresh Produce Protector is the recipe.
I chose to Raw Pack my apricots(mainly because I was feeling lazy and wanted to be finished :) )
I washed the apricots, cut them in half and pitted them. (no peeling with raw pack)
Then I treated them with Fruit-Fresh, which is an ascorbic acid (vitamin C) to prevent browning and protect flavor.

I prefer an extra light syrup with my fruit - that mixture is 1 1/4 cups of sugar with 5 1/2 cups of water to yield 6 cups of syrup.

 Pack apricots cavity side down, into hot jars, leaving 1/2 inch headspace. Ladle hot syrup over apricots leaving 1/2 inch headspace.
Wide mouth jars work best for this, but I only had regular on hand so that is what I went with.
Remove the air bubbles, clean the rim of the jar, put the lid on tighten the ring, and place in the boiling-water canner. Process quarts pints for 25 minutes and quarts for 30 minutes.
Jars should be stored in a cool, dark place.