"I fear that so many feel that a long-term supply is so far beyond their reach that they make no effort at all. Begin in a small way…gradually build toward a reasonable objective.” -President Gordon B. Hinckley,
Showing posts with label recipes. Show all posts

Tuesday, June 9, 2015

Food Storage- What's for Dinner?


   By now I'm sure you have all heard about what I will call the 'old way' of doing food storage. You may have even found a food calculator that told you how many pounds of each grain, beans, flour, powdered milk, and sugar you needed.  But WHAT are you going to make for dinner with those items?

  I had the same dilemma, I was storing the basics as I was guided to, all the while wondering what on earth I was going to make for dinner if that was all I had. Enter the 'new way' of doing food storage. And by 'new way', I mean the way that I will forever do food storage. There is no right or wrong way, but this 'new way' makes sense and works for my family.


This system is based on a survivable worst case scenario, meaning no running water, no gardens, no grocery store and you could still feed your family. This system will allow you know exactly how much food you will need for a year's supply.

                                                             The System
Write down 7 breakfasts and 7 dinners that you would like to have once a week for a year. There are 52 weeks in a year, so you will be having these meals 52 times. After deciding on meals, write down everything it takes to make the meal and multiply that by 52. Don't forget to add the water you will need for cooking.  My personal food storage has 7 breakfasts( x 52 weeks), 14 dinners(x 26 weeks), a daily loaf of bread (x 365 days), and a variety of desserts. This is a very simple system that saves time and money because you only store what you need and know you will eat. It can easily be adapted for those with food allergies. 

Now you may be saying, "What about lunch?" Well, if I'm in a situation to NEED to be living on my food storage, I'm going to sleep late and go to bed early. We won't need lunch. And meals will take longer to cook without modern conveniences. If you would like lunch, feel free to add that. 

A few examples of meals and the total needed for a year of that meal. 

Let's say you choose spaghetti as a dinner and it takes 1 pound of spaghetti noodles and 1 jar of spaghetti sauce to feed your family. You would need 52 pounds of spaghetti noodles and 52 jars of spaghetti sauce to have that meal once a week for a year. 

Or maybe you chose Taco Soup ( makes 9-10 cups) 
1 pint (home canned) ground beef   x 52 weeks =.........52 pints ground beef
1 can kidney beans x 52 weeks = ................................52 cans kidney beans
1 can corn x 52 weeks =...............................................52 cans corn
1 29 oz can tomatoes  x 52 weeks =.............................52 cans tomatoes
2 cups water  x 52 weeks =...........................................6 1/2 gal. water
3 T taco seasoning  x 52 weeks =.................................2 1/2 pounds of taco seasoning

Everything should be looked at for long shelf life. Many of your favorite recipes can be converted into food storage recipes. Instead of frozen hash browns, try dehydrated potato shreds

Once you have decided on your meals, written down all the ingredients and tallied a total for all ingredients keep that list with you at all times. Put it in digital format if that is more convenient. Then watch for sales and in a timely manner buy your food storage. 

                                                             Rotation

To ensure that the food you store is still safe to eat, you must rotate the store food prior to its expiration date. With this system, rotation is simple. Get a small notebook and as you buy your food storage write down what your bought, when you bought it, the expiration date, and where in the house that food is stored. Each year look at your book and determine what is near expiration.  If something will expire within that year, buy/can a new item, take the old item out of storage and place in your pantry to be used in your weekly meals. Then replace that item with the new. Be sure to record the new expiration date in your book. 


Soon you will have a full year's supply of meals that you KNOW your family will eat. Rotation will be a simple task  that you may even look forward to. 

Additional food storage tips can be found here.

Wednesday, March 25, 2015

Strawberry Jam


There's nothing tastier than a slice of toast with homemade strawberry jam, packed with fresh fruit. Store-bought versions are full of high fructose corn syrup, artificial flavorings, and sometime who knows what. Instead, follow my easy guide to make a delicious homemade version.

Step one: Prepare your strawberries. I give them a super quick rinse, so they don't absorb too much water then wipe them off with a towel. (too much water and the jam won't set properly) I have this amazing tool called a strawberry huller and it makes short work of removing the stems.

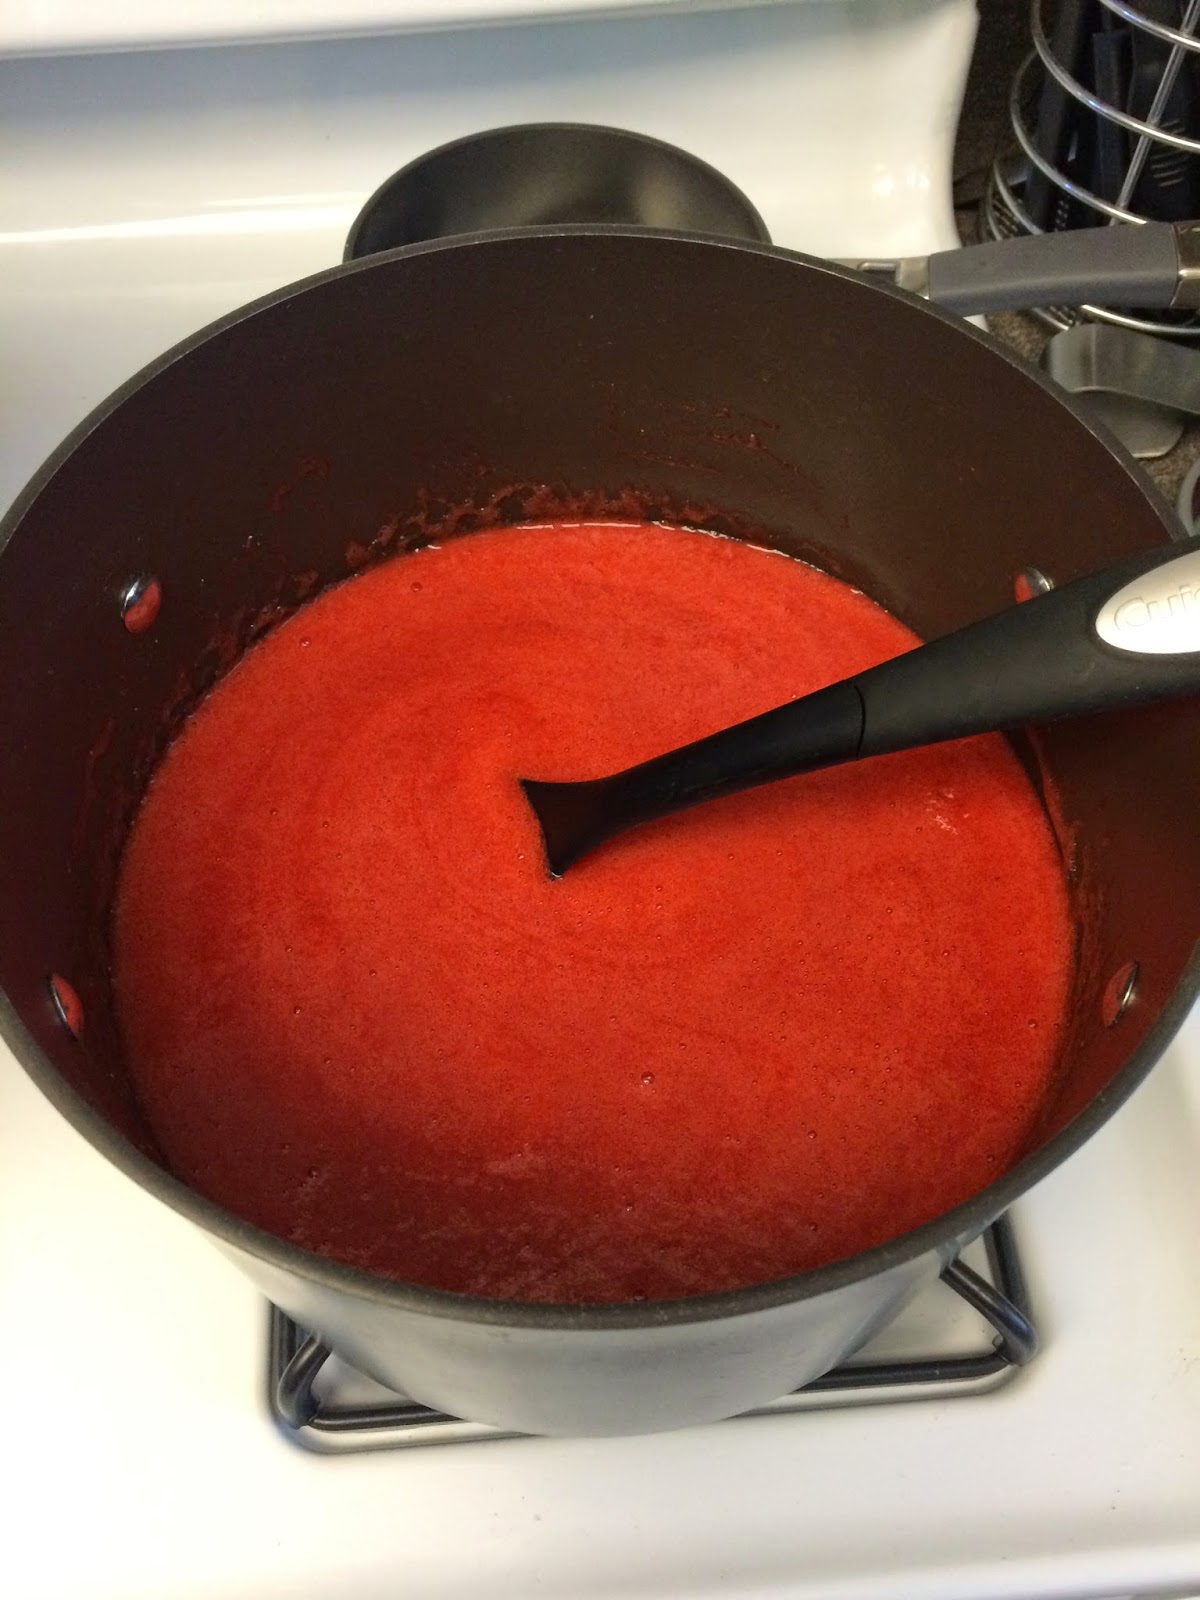
Step two: In large stock pot add 8 cups of crushed strawberries. ( I prefer smooth jam, so I dropped the strawberries into my vitamix machine for 30 seconds) Add 6 tablespoons of Ball Classic Pectin, 7 cups of sugar, and 1/4 cup of lemon juice. Stir until all the sugar is dissolved. Bring to a rolling boil.
TIP:add 1 tablespoon of butter to reduce the foam.


Step three: Bring to a hard boil for 1 minute, stirring constantly. Remove from heat. To test the set, spoon a small amount of jam onto a plate and place in the freezer for 30 seconds. Remove from freezer, then push with your finger; if the jam wrinkles and doesn't flood to fill the gap, it is ready. If not, turn the heat back on and boil for 2 minutes longer, then turn off the heat and do the wrinkle test again. Repeat until ready.


Step four: Skim any foam if necessary. Ladle hot jam into hot jars leaving 1/4 -inch headspace. Adjust the two piece caps.  


Step five: Process 10 minutes in a boiling water canner. Then remove jars to cool and seal on your counter top. The jam can be stored for up to 1 year in a cool, dry place. Refrigerate after opening. 


Strawberry Jam
Yield:about 8 half pints
8 cups strawberries                             1/4 cup lemon juice
6 tablespoons Ball Classic Pectin        7 cups sugar

Wash strawberries:drain. Remove stems. Crush strawberries one layer at a time. Combine strawberries, pectin, and lemon juice in a large saucepot. Brig to a boil; stirring occasionally. Add sugar, stirring until dissolved. Return to a boil. Bring to hard  1 minute boil, stirring constantly. Remove from heat. Skim foam if necessary. Ladle hot jam into hot jars, leaving 1/4- inch headspace. Adjust two piece caps. Process 10 minutes in a boiling- water canner.


Thursday, November 7, 2013

Roasted Pumpkin Seeds

After I made a bunch of pumpkin puree, I was left with a lot of pumpkin seeds that I couldn't let go to waste. So, I turned to my favorite chef, Alton Brown, for a delicious recipe.

 Wash and dry the seeds. Let dry for at least 8 hours.

Over medium heat add 2 tsp olive oil, once that is good and hot add 1 cup pumpkin seed,  1/2 tsp. salt, and a pinch of pepper. Stir constantly for about 5 minutes or until seeds are nice and brown.

Yummy.

Place the seeds into a paper towel lined bowl to wick away excess oil. Store seeds in an air tight container. Consume with in a week or freeze up to a month. Good luck getting them to last that long. My toddler was eating these by the handful. 

Pumpkin Puree

We all know that fresh tastes better, yet I always just used canned pumpkin. Why? I'm not sure. Now that I have discovered the delicious and heavenly taste of fresh pumpkin puree in my baked goods, I will never be returning to the can. Here's the scoop so you can enjoy the "liquid gold" as well.


Choose a pumpkin that feels firm and heavy for its size. Look for soft spots, mold, wrinkles or open cuts that would indicate damage or early spoilage. Choose a pumpkin with a solidly attached stem. Preheat your oven to 375°.


                                                           Cut a slice out of the pumpkin. 
    Clean all the guts off the slice.Free of all string and seeds (set guts aside to roast the seeds later)

Place meat side down on a jelly-roll pan. Try to keep the pieces the same size to ensure even cooking.
Once your pan is full add a bit of water to the tray to prevent the pumpkin from sticking and to steam it as it bakes.  Bake for about 60 minutes or until the meat is soft. 

Allow the pumpkin to cool for a few minutes so you don't burn your fingers. Then remove the skin.

    Place the cooked, skinless pieces in a blender or food processor. Blend until smooth.
 Transfer the puree to a bowl and allow to cool before placing in freezer safe containers for storage.

Then make delicious baked goods such as pie, cake, cookies, and bread.


Here's my pumpkin bread recipe:     2 1/2 cups all purpose flour
                                                       1 cup whole wheat flour
                                                       3 cups sugar
                                                       2 tsp. baking soda
                                                       2 tsp. cinnamon
                                                       1 tsp. nutmeg
                                                       1 tsp. salt
                                                       16 oz fresh pumpkin puree
                                                       1 cup oil
                                                       4 eggs
                                                       1 cup chocolate chips
  
Preheat oven to 350°. Mix flours, sugar, baking soda, cinnamon, nutmeg, and salt. In a separate bowl mix the pumpkin puree, oil, and eggs.  Add the wet ingredients to the dry and blend well. Add chocolate chips. 
Bake for 60-70 minutes. 
(if you use canned pumpkin puree, (this won't taste as good) you will need to add 2/3 cup of water to the above recipe.)
                                         

Wednesday, November 6, 2013

Dill pickles

 I have made multiple recipes of dill pickles over the years and I think this recipe is my new favorite.
                              The recipe is on the back of the Ball Kosher Dill Pickle Mix.
For every 2 quarts of pickles, you will need:   3 1/2 lbs pickling cucumbers
                                                                  2 cups water
                                                                  1 cup vinegar
                                                                  1/4 cup ball Kosher Dill Pickle Mix
                                                                  2 quart jars with bands and lids

This recipe worked well for me this year as I was growing my own cucumbers and rarely had a large batch to do at once.  Wash and cut the ends off the cucumbers. You can cut them into spears, sandwich slices, halves etc.
             Combine water, vinegar, and pickle mix in a medium sauce pan. Heat to a boil.

Pack sliced pickles into hot jars. Ladle hot pickling liquid over cucumbers leaving 1/2 inch headspace.
Remove air bubbles, wipe rims, and center lids on jars. Apply bands and adjust to fingertip tight.
For preserving up to 1 year process in a water bath canner for 15 minutes. For best flavor, allow pickles to stand for 4-6 weeks.

           Processed pickles ready to eat within 4-6 weeks. Waiting is the hardest part :)

Thursday, May 24, 2012

Potato Slices and Potato Shreds


 I have been experimenting with my food storage items by cooking our normal meals with food storage. With this experiment I used the Potato Slices and made scalloped potatoes.

Dehydrated Potato Slices #10 Can 20 oz


I started by re-hydrating the slices. I added about a 1/2 pound of slices and enough hot water to cover them. It took about 20-30 minutes for them to re-hydrate.


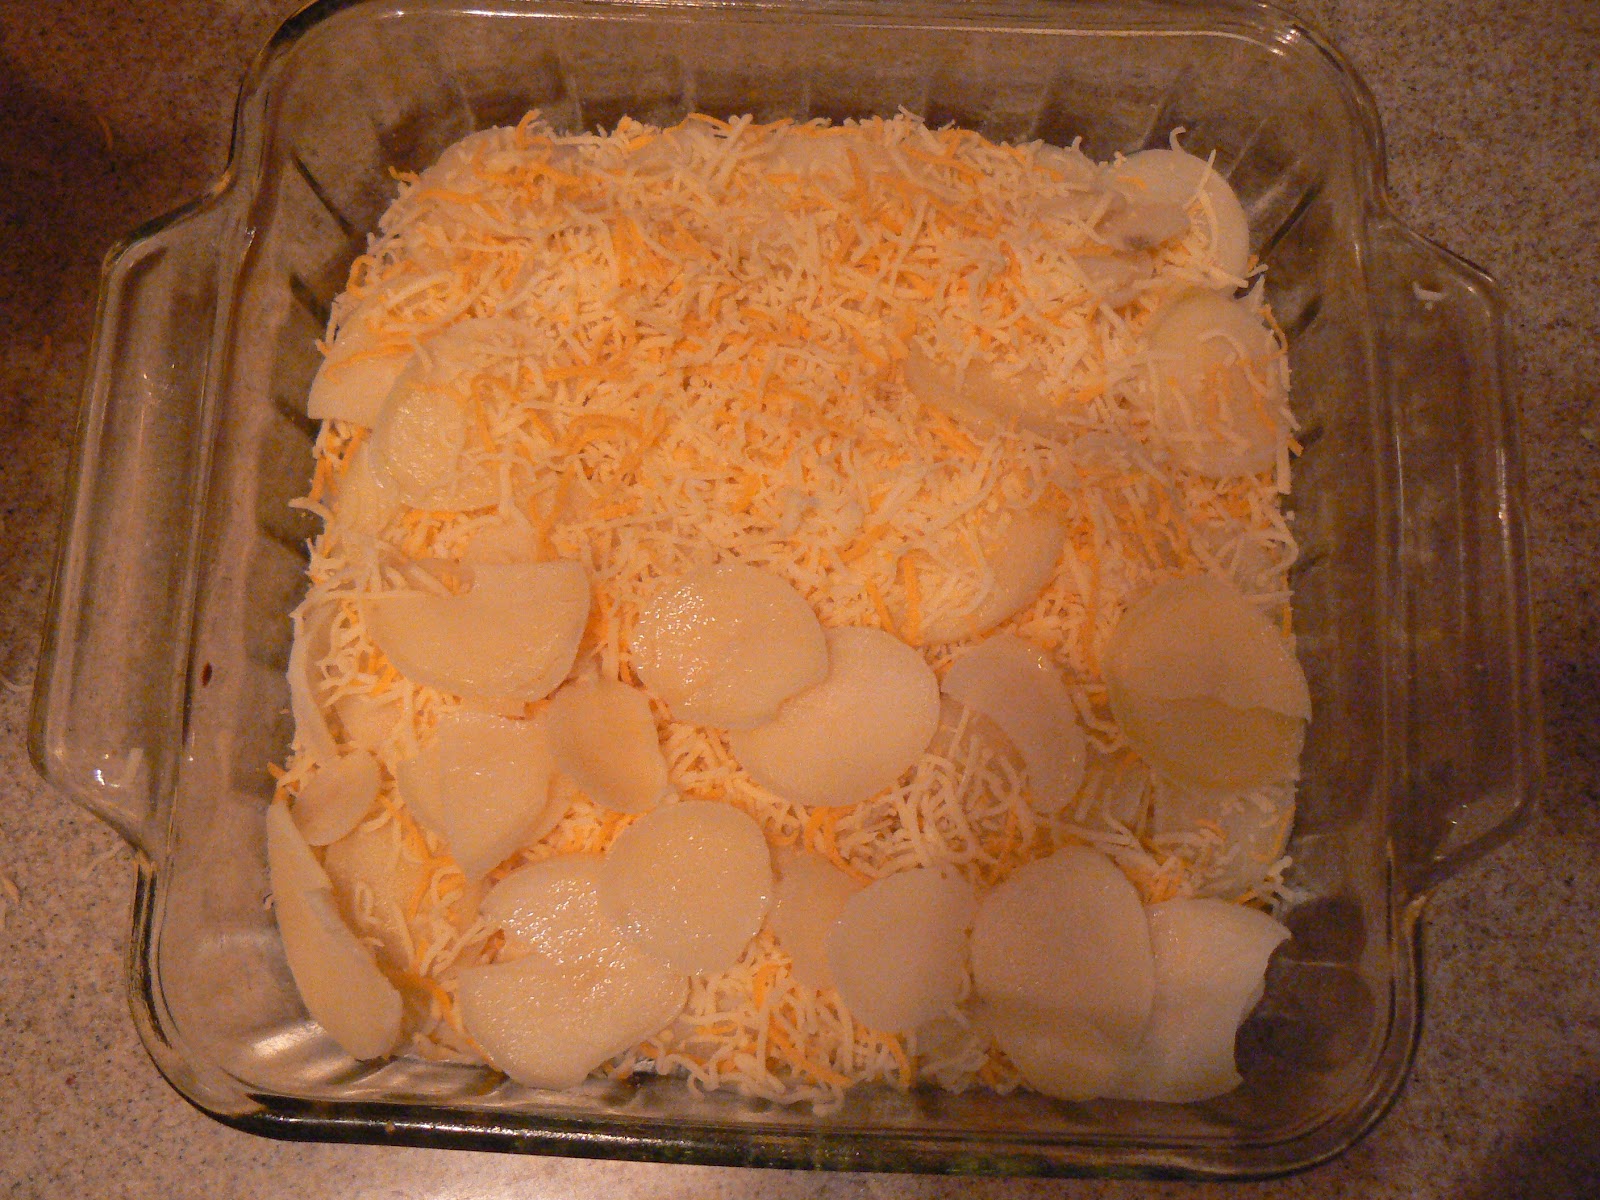
Once re-hydrated they felt just like a raw potato. I layered them in my pan then topped with cheese. (repeat until pan is as full as you desire)

On the stove top I mixed my powdered milk, salt, whole wheat flour, and butter. Bring to a simmer and then pour over the potatoes and cheese.


Bake at 350 F. Covered for 30 minutes and uncovered for 60 minutes or until cheese is golden.

 It was delicious and you couldn't tell it was food storage. Enjoy!!

Potato Shreds

With this meal I made a Farmer's Casserole with Potato Shreds

Dehydrated Potato Shreds #10 Can 23 oz

I re-hydrated about 8 oz of shreds with enough hot water to cover them. They re-hydrated in about 15 minutes.


 In a separate bowl mix 1 1/2 cups of milk ( 1 1/2 cups water + 4 1/2 T of non- instant powdered milk), 4 eggs (8T water + 4T powdered egg), 1/8 tsp of salt, 1/8 tsp of pepper.


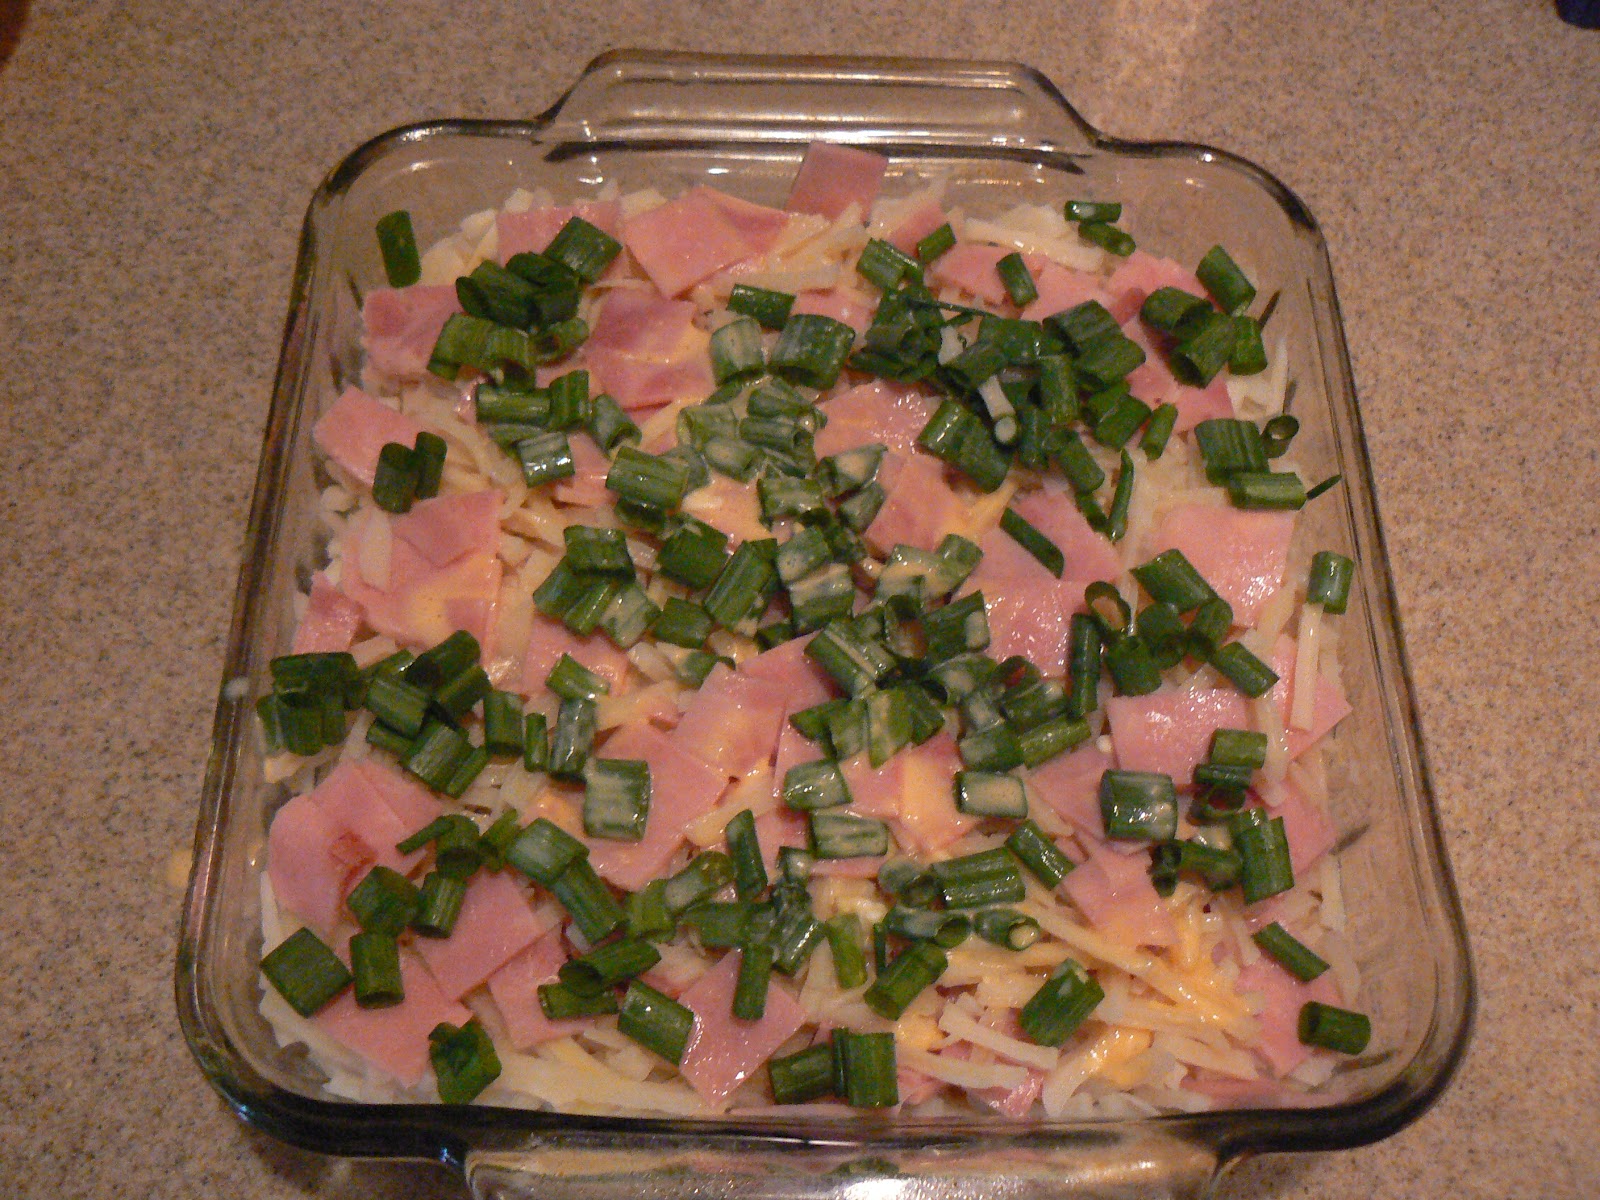
 Arrange potatoes evenly and sprinkle with cheese, green onions, and ham. Then pour egg mixture over the potatoes.


Bake 350F uncovered for 40-45 minutes or until a knife inserted near the center comes out clean. Let stand 5 minutes before serving.


 Another delicious meal made with food storage. The next items to change will be using freeze dried cheese instead of fresh cheese.

Wednesday, April 4, 2012

Bunny Buns

This recipe was originally printed in the April 1980 Friend magazine.  It is super easy to use your food storage items with this recipe.

1 package active dry yeast (2 1/4 t. yeast)
1/4 C warm water
1 cup milk, warmed not quite to boiling (3 T. non instant milk powder + 1 C warm water OR 1/3 c. instant milk powder + 1 C. water)
1/3 cup sugar
1/2 cup shortening or 1/4 cup oil
1 teaspoon salt
2 eggs, beaten (2 T. dry egg powder and NO WATER)
1/4 cup orange juice
2 tablespoons grated orange peel
5 1/2 cups flour (I used all white wheat flour)

Plain Glaze: 2 cups powdered sugar, 1/4 cup hot water, 1 teaspoon butter
Orange Glaze: 2 cups powdered sugar, 1/4 c. orange juice, 1 teaspoon butter, and 1 t. grated orange peel

 This instruction list 1-3 is for those using powdered milk and powdered eggs.

1) Mix yeast and warm water.
2) Add 3T non instant powdered milk + 1 cup warm water, sugar, shortening, salt, 2T egg powder, 1/4 cup orange juice, and orange peel.
3) Add about 3 cups of flour and mix. Slowly add more flour until no longer sticky. Let stand for 10 minutes.

This instruction list 1-3 is for those using fresh milk and eggs
1) Mix yeast and warm water in a separate bowl and set aside.
2) Blend scalded milk, sugar, shortening, salt; then cool till lukewarm , then add eggs, water with yeast, orange juice, and orange peel.
3) Add about 3 cups of flour and mix. Slowly add more flour until no longer sticky. Let stand for 10 minutes.


Everyone follow remaining instructions.
4) Knead dough 5–10 minutes on a lightly floured surface until dough is smooth and elastic. Place it in a lightly greased bowl, turning once to grease surface. Cover bowl with a clean towel and put it in a warm place. Let dough rise for 2 hours, or until double in size. Punch dough down and let stand for 10 minutes.
5) On a lightly floured surface, roll dough into a rectangle 1/2 inch thick. Cut dough into strips 1/2 inch wide and 14 inches long. 
                                                

6) Roll  into rounded snake shapes. Roll just enough to round the edges.  Cut the shorter pieces about 1/2 long to roll into balls.

 7) Make a loop with the rolled dough piece. Twist twice then place on cookie sheet.

 8) Place a ball of dough on top of the bottom loop. Cover bunnies and let rise in a warm place for 45-60 minutes or until nearly doubled in size.                                                                                                                     
9) Bake at 375ºF (190ºC) for 12–15 minutes.

                                                     
10) For the glaze, stir powdered sugar, water, and butter together. Frost bunnies with the glaze while they are still warm.


Side note- This time around I used 100% whole white wheat flour and found that the wheat overpowered the orange taste. So next time I will either use half wheat half A/P flour, or I will use more orange zest. But they were still delicious!


If you want to enjoy this Easter morning, but don't want to spend all morning prepping them, turn these into brown and serve rolls! Make them the day before (or even a couple of days before). After the buns are shaped rise to 1/2 the way to being doubled (so not all the way doubled). Cook in a 275 degree oven for 13-15 minutes. They should be blond in color and set (when you jiggle the pan they shouldn’t jiggle with it). Cool and cover. (You can freeze them also) When you’re ready to eat them, pop them into a 400 degree oven for 5 minutes. Remove and glaze-SERVE WARM! These buns will be slightly brown on top and warmed through.

Friday, July 29, 2011

Beans

Beans, Beans, the magical fruit, the more you eat the more you.....Oh, hello today we learn about beans. We can't talk about cooking and eating beans without discussing their one negative side effect. Our bodies lack the enzymes needed to digest some of the natural sugars contained in beans. When food can't be digested, it is left to ferment in the digestive track, creating gas. While intestinal gas is a natural part of life, the amount that can be caused by beans can be uncomfortable and embarrassing. Here are some ways to significantly decrease that gas:
1) Use enzyme tablets, such as Beano, that help your body digest beans. For a free sample call the company's hotline at 1-800-257-8650.
2) Before cooking beans, soak them for at least three hours. Change the soaking water at least twice.
3) Start eating beans more frequently. The more you eat beans, the more you body will become accustomed to them.

Types of Beans
White Beans (Navy Beans)
"Navy" has nothing to do with the bean's color but rather refers to its use in a soup served in the Navy. The beans are small and are commonly used in soups, baked beans, chili, and ethnic dishes. Their flavor is light and almost buttery.
Pinto Beans
The pinto bean is actually a milder-tasting variety of the kidney bean, which was first cultivated by natives of South and Central America. The pinto bean is most commonly used in Mexican dishes such as refried beans, ranch-style beans, refritos charro, burritos, and tostadas.
Black Beans
Black beans are also known as turtle beans. These beans, which have a stronger flavor than pinto beans and white beans, are commonly paired with rice as a side dish and used in Oriental, Mediterranean, and Southern United States cooking.

Soaking Beans
Dried beans should be soaked before cooking to restore moisture, reduce cooking time, and, most importantly, to cut down on the gas the can produce inside of you. Choose a pot that will be large enough to give the beans room to expand as they soak.( Most beans when hydrated, will triple in size.) There are two ways to soak beans- the quick method and the overnight method.
Quick Soaking
For each pound (2 cups)  of dried beans, add 10 cups of hot water; heat to boiling and let boil 2-3 minutes. Remove from heat, cover, and set aside for at least 1 hour.
Overnight Soak
For each pound (2 cups) of dried beans, add 10 cups cold water, then soak overnight.

Once your beans have soaked and tripled in size, it's time to cook them. Be sure to drain off the soaking water and rinse the beans, as the soaking water now contains some of the bean sugars that can cause gas. Depending on the variety, beans take 30 minutes to 2 hours to cook; check the package for more specific directions. Beans are done when they are tender but not falling apart. If the beans have been sitting in your food storage for a long time, you will need to cook them longer.

Looking for a low fat alternative for your favorite dessert? Try substituting mashed, cooked beans for butter, margarine, or oil. Soak, cook and drain beans as instructed previously, reserving the cooking water. Substitute beans for oil, margarine, or butter in baked goods, using the same amount of cooked beans as the type of fat called for. For recipes where butter or margarine is creamed with sugar, simply place whole,cooked beans with sugar and cream together. The batter may be moister than usual, so if you are also using powdered eggs, DO NOT add the water, since the liquid in the beans will rehydrate the eggs. For recipes calling for oil, make a bean puree by placing cooked beans in a blender, then adding just enough water to blend the beans into a smooth, thick paste with no chunks. Match the bean color with the treat you are making, so that the color of the treat doesn't change. For example, black beans would not work in a yellow cake you would use white beans. Store cooked beans tightly covered in the refrigerator up to five days, or in the freezer for up to six months.
                                   Brownies made with powdered egg and white bean puree.

Of the beans offered at the Church canneries, dehydrated refried beans are the easiest and quickest to cook. If you're unsure about using dehydrated refried beans, know this: they are the best kept secret of most fast food Mexican restaurants. If restaurants can use dehydrated refried beans in their expensive food, why not use it in your own cooking and save money while you're at it?
Refried Beans
1 cup boiling water
1 cups dehydrated refried beans     Add dehydrated refried beans to boiling water and stir. Cover and let sit for 10 minutes. Adjust the water to get the consistency your family likes.

Recipes to try:
White Bean and Sausage Rigatoni
8 oz. dried macaroni
2 cups cooked white beans
1 can (14.5 oz) stewed tomatoes
2 tsp Italian seasoning
6 oz. cooked Italian sausage, halved lengthwise and cut into 1/2 inch slices
1/3 cup fresh basil, snipped
1 oz. Asiago or Parmesan cheese, finely shredded

Cook pasta according to package directions. Drain, Return pasta to hot saucepan; cover to keep warm.
Meanwhile, in a large saucepan combine beans, undrained tomatoes, and sausage; heat through. Add pasta and basil; toss gently to combine. Sprinkle individual servings with cheese.

Pinto Bean Fudge
1 cup cooked pinto beans, drained and mashed into thick paste
1/4 cup evaporated milk (1 1/2 T. dry powdered milk + 1/4 cup water)
1T vanilla
6 oz. unsweetened chocolate
6T butter or margarine
2lbs. powdered sugar
pecans or walnuts (optional)
In large bowl, stir beans and milk together adding milk until the mixture resembles mashed potatoes; stir in vanilla. Melt chocolate and butter or margarine and stir into bean mixture. Gradually stir in powdered sugar. Knead with hands until well blended. Spread into lightly greased 9-inch baking dish or form into two 1 1/2-inch  rolls. Chill 1-2 hours before serving.